
Document Options contains many features to change the properties and preferences of a particular file. For example, you can change a file’s symbol fonts, file locking properties, copyright information, and drill title. To display the Document Options, select Document Options from the File menu.
Properties
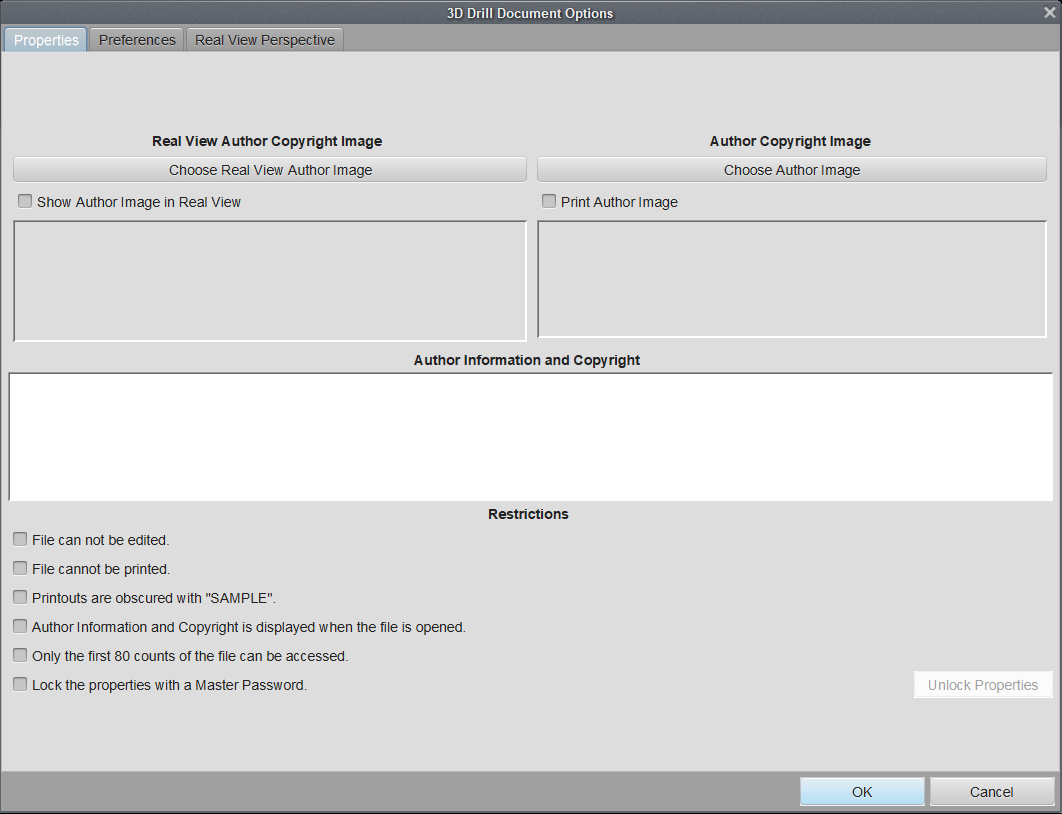
The Properties tab contains settings that are the file characteristics which define the use of a file you are creating. There is a section for entering and displaying your Author Information and Copyright, as well as an image, such as a company logo, to be displayed/printed.
You can set the file up to not allow editing, if for example, you wanted the file strictly to be used as a demo.
The properties can be changed and then locked with a Master password. This is useful if you would like to distribute your drill file but make it operate as a demo. Its value is most seen on the internet.
You can create a drill file, put a company name and contact number in the file that displays when the file is opened, restrict its use for only previewing, and post it on your web site for sale or upload the file to your Pyware account. Anyone can download your file for preview. Should they want to purchase your drill, you can unlock their copy of the file for use by giving the customer a key that only works one time.
Preferences
Preferences contains settings that define the characteristics of the file you are working on.
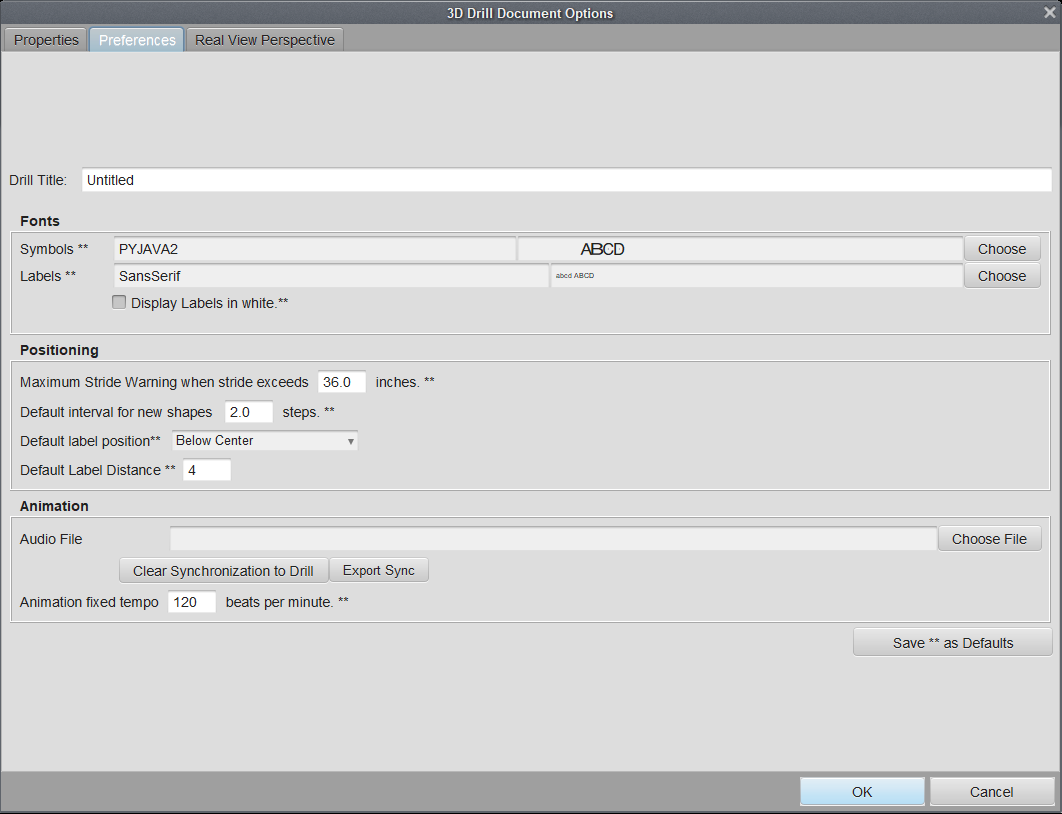
Drill Title is the title that is used when printing. If this title is left blank then printouts will use the name the file was saved as.
Symbol Font is the font used to represent the performers on the field.
Label Font is the font used to label (or number) the performers on the field.
Default Label Position is the location of a label that appears next to a performer symbol on new formations.
Default Interval is the interval first entered into a drawing tool control panel to determine the spacing between performers in a shape. This is just the initial value and can be changed while using a drawing tool. Its default is 2 steps. You may want to change this value if you find you consistently use an interval other than 2.
Audio File is the music file that contains music you wish played during animation of the drill.
A drill file can be synchronized to one of three types of sound files: (MID=MIDI, WAV=wave audio file, OGG=Ogg/Vorbis audio file). To set up an audio file for use with a drill file, do the following:
- With a drill file opened, select the Preferences section of Document Options of the File menu.
- Click Choose File for the audio file and select an audio file.
- The next time you click ON the animate with music button, you will be instructed to synchronize the music to the drill.
Animation Fixed Tempo is used to set the speed of the animation that is played with no music.
Real View Perspective
The Real View Perspective tab contains options for settings used in the Real View window, such as uniform fabrics, flag fabrics, performance surfaces and venues, and any starting visuals.
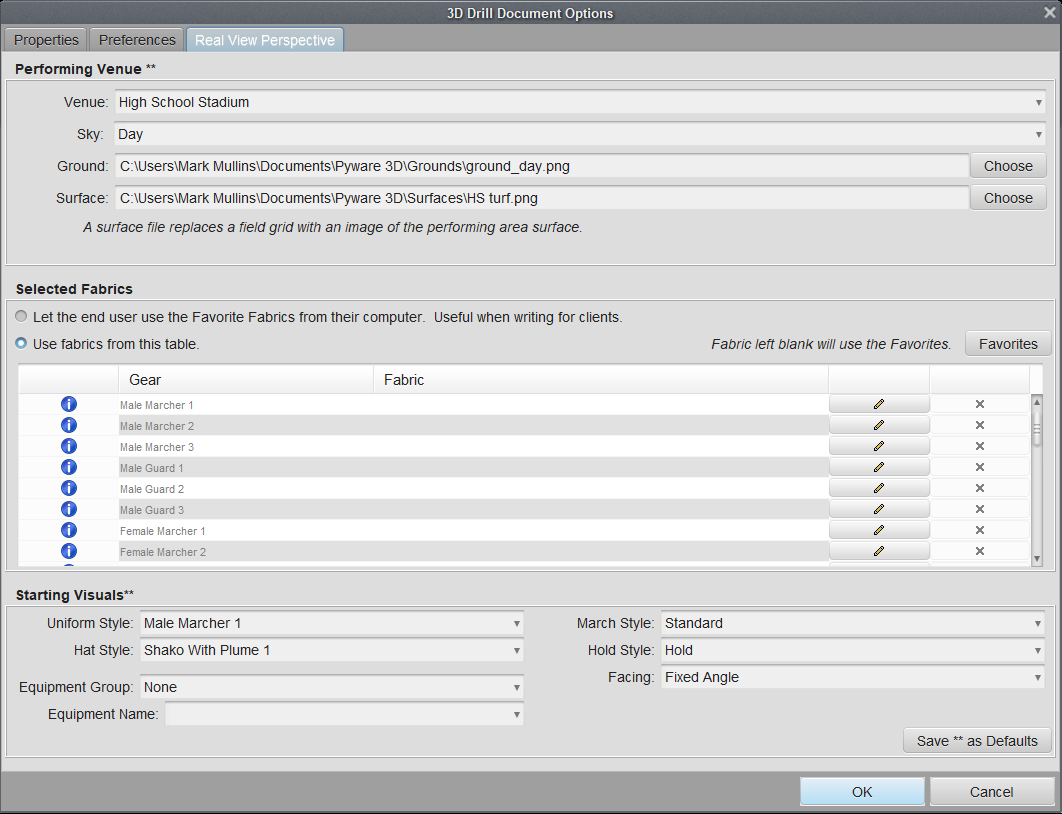
The Performing Venue section is where you would import performance surfaces and set venues, such as stadiums, to display in the Real View.
Venues will add an environment setting, such as a stadium, gymnasium, or parade route to the Real View window.
The Sky option has various skies to choose from to enhance the Real View scenery.
The Ground option will replace the ground surface and surrounding field areas with whichever option you choose. When loading a ground, we recommend choosing a surface file as well, such as a High School Football Field.
Surface allows you to import a performance surface to overlay on the field. This aids with customization of the performance surface, as you could use images that represents tarps, football fields, basketball courts, etc.
The Selected Fabrics section is where you edit which fabrics are used for a specific drill. There are two options in this section, to let the end user (such as your client) use their own fabrics from their machine, or to use the fabrics from the table below.
Allowing the user to select fabrics from their machine is an absolute time saver. If the user has favorite fabrics set in their 3D program, these will be used for any drill they open, as opposed to having to sort through a list and choose which fabrics to use for their drills.
Opting to use the fabrics from the table will save any selected fabrics in the table and include them in a drill package (.3dz). Fabrics will not be included in a standard (.3dj) drill file.
If you have a custom fabric (such as a uniform, flag silk, or drum shells) that you would like to use in the drill, you can import the fabric by selecting the Edit button for the respective fabric you would like to change. A new window will open where you can browse your machine for the fabric to use.
To clear a used fabric, press the Delete button for the fabric you would like to remove. This will not delete the fabric; it will only be removed for use in this drill.
Any fabrics left blank will use the Favorite Fabrics specified in the Application Options of 3D. Click the Favorites button to open the Favorite Fabrics tab in Application Options.
The Starting Visuals section allows you to change default uniforms, equipment carried, march & hold style, as well as facing when working on new drills. These values will be used until performers are edited using the Visuals Editor.
Post your comment on this topic.